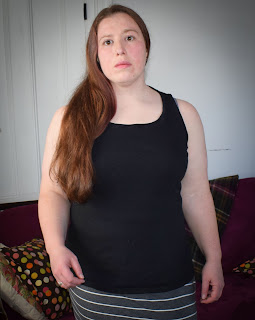
Muslin take 2!
This time, I adjusted the front and side pieces for a 1/2" shoulder slope and a 1/2" forward shoulder adjustment, combined into a 1" change to the front piece only. Because I don't want to change the armscye, the shoulder change needs to continue down into the underarm area, to keep the length the same and make sure the sleeve still fits. I used the pivot and slide technique here too, to make sure the length didn't change. Then matching the notches on the modified front and side panels allowed me to transfer over the change, and pivot back to the back edge.
 |
| Sketch of the adjusted front and side pattern pieces |
I recut the body pieces, with the shoulder adjustment and staying with the size 18 for the full size. I pulled the sleeves and collar off the original muslin and put them into the new one. Getting pretty close to being ready for the real thing!
 |
| Blazer - size 18, front and back views |
The sleeves are definitely too long, but I'm not sure about the body. It could be ok, but maybe shorter would be better? I decided to take a tuck at the waist, 1/2" wide, for a 1" reduction in length.
 |
| Blazer - size 18, 1" length reduction at waist |
Unfortunately, it looks like the waist length reduction will require an additional swayback adjustment. Which seems crazy, but when I make that change it's a definite improvement. I sewed an extra line of stitching about .5 cm away from the shortening line, and sure enough the vent stopped swinging open.
 |
| Back view of blazer with additional swayback adjustment |


Comments
Post a Comment