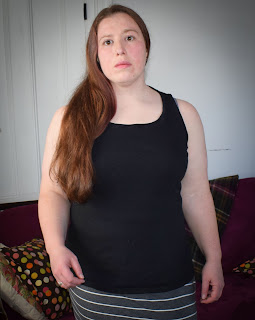
Blazer of Glory! Part 1
My dreams of making a blazer that actually fits me are inching towards reality. I started with the Jasika pattern from Closet Core patterns. I knew that I was going to need to make a full bicep adjustment, since my arm measures 16" and the finished garment size is 15.75". I added 2" to get a reasonable amount of ease. I also followed the advice the ever helpful Carol Kimball on Ravelry to pin the flat pattern pieces together to check the fit. This made it obvious that the back was going to be too long and I needed to do a sway back adjustment. Pinning out the lower back made it sit much better.
 |
| Initial paper pattern fitting on my dress form |
I adjusted the back pieces for length, using the pivot and slide technique suggested here. I shortened the center back by 1 1/2" (since the fold I pinned out was 3/4") and tried it on the dress form. Making the initial pattern adjustments to the paper patter made the back fit better, but there is clearly a shoulder slope issue. I decided at this point to go ahead and make a first pass on a fabric mock up, using a medium weight cotton from Ikea (at $1.99 a yard I'm not super worried about the waste) and fit the shoulders from there. The amount that needed to be pinned out for the shoulder to sit flat with the paper pattern seemed like a lot.
 |
| Paper pattern fitting take two, showing the shoulder issue and the excess pinned out. |
So I went ahead and cut the pieces I would need (back, side, front, sleeves, under collar, and collar) and basted them together. I pinned the shoulder pads in and tested it out. It looks pretty good from the front, but the back definitely shows some issues.
 |
| The fist muslin with back creases showing shoulder issues |
The diagonal creases from the underarm towards the neckline in the back are from the shoulder slope issue. I have quite a lot of trapezoid muscle, which causes my shoulders to slope more than the average, and means that adjusting the shoulder slope is probably something I'll need to do to most patterns. My shoulders are also somewhat forward, so I ended up pinning out the excess to the front instead of on both body pieces, to shift the seam a bit forward as well. This could have been done in two steps (sloping the shoulder by 1/2" on the front and the back, and then shifting it 1/2" forward) but since I know I'm going to need to do both I went ahead and combined the adjustments.
 |
| Muslin with shoulders pinned, and then center back taken in |
Pinning the shoulders makes a huge difference to the back fit, but it's clear that there's a bit too much width there regardless. I pinned it out at the center back seam (in the third step of the image above). At this point I realized I probably have a size issue - I did a size 18 bust and graded out to the 20 hip, but I'm not sure that grading between sizes was really necessary. The size 18 measurements are 44”-37”-46”, and mine are 47”-38”-47”. My high bust is 42”, so I used the D cup pieces (to avoid a FBA - I’m glad they provided them). Finished waist and hip for the size 18 is 43.5” and 49.25”, which should still be a decent amount of ease. Probably worth trying anyway.


Comments
Post a Comment